
In just over a month our little family will be heading to the US for a holiday. We are so excited and counting down the days...yippee! Me, being my Capricorn self, likes to be super organised and as I lay in bed last night thinking about all things holiday, I realised that our passports were sitting in a yucky old plastic ziplock bag. I knew that had to change. No doubt, we'll be whipping the passports in and out of bags while we're away and I want something pretty to protect them.
So today I went into action and sewed a zipper wristlet pouch and I thought I'd share with you how I did it.


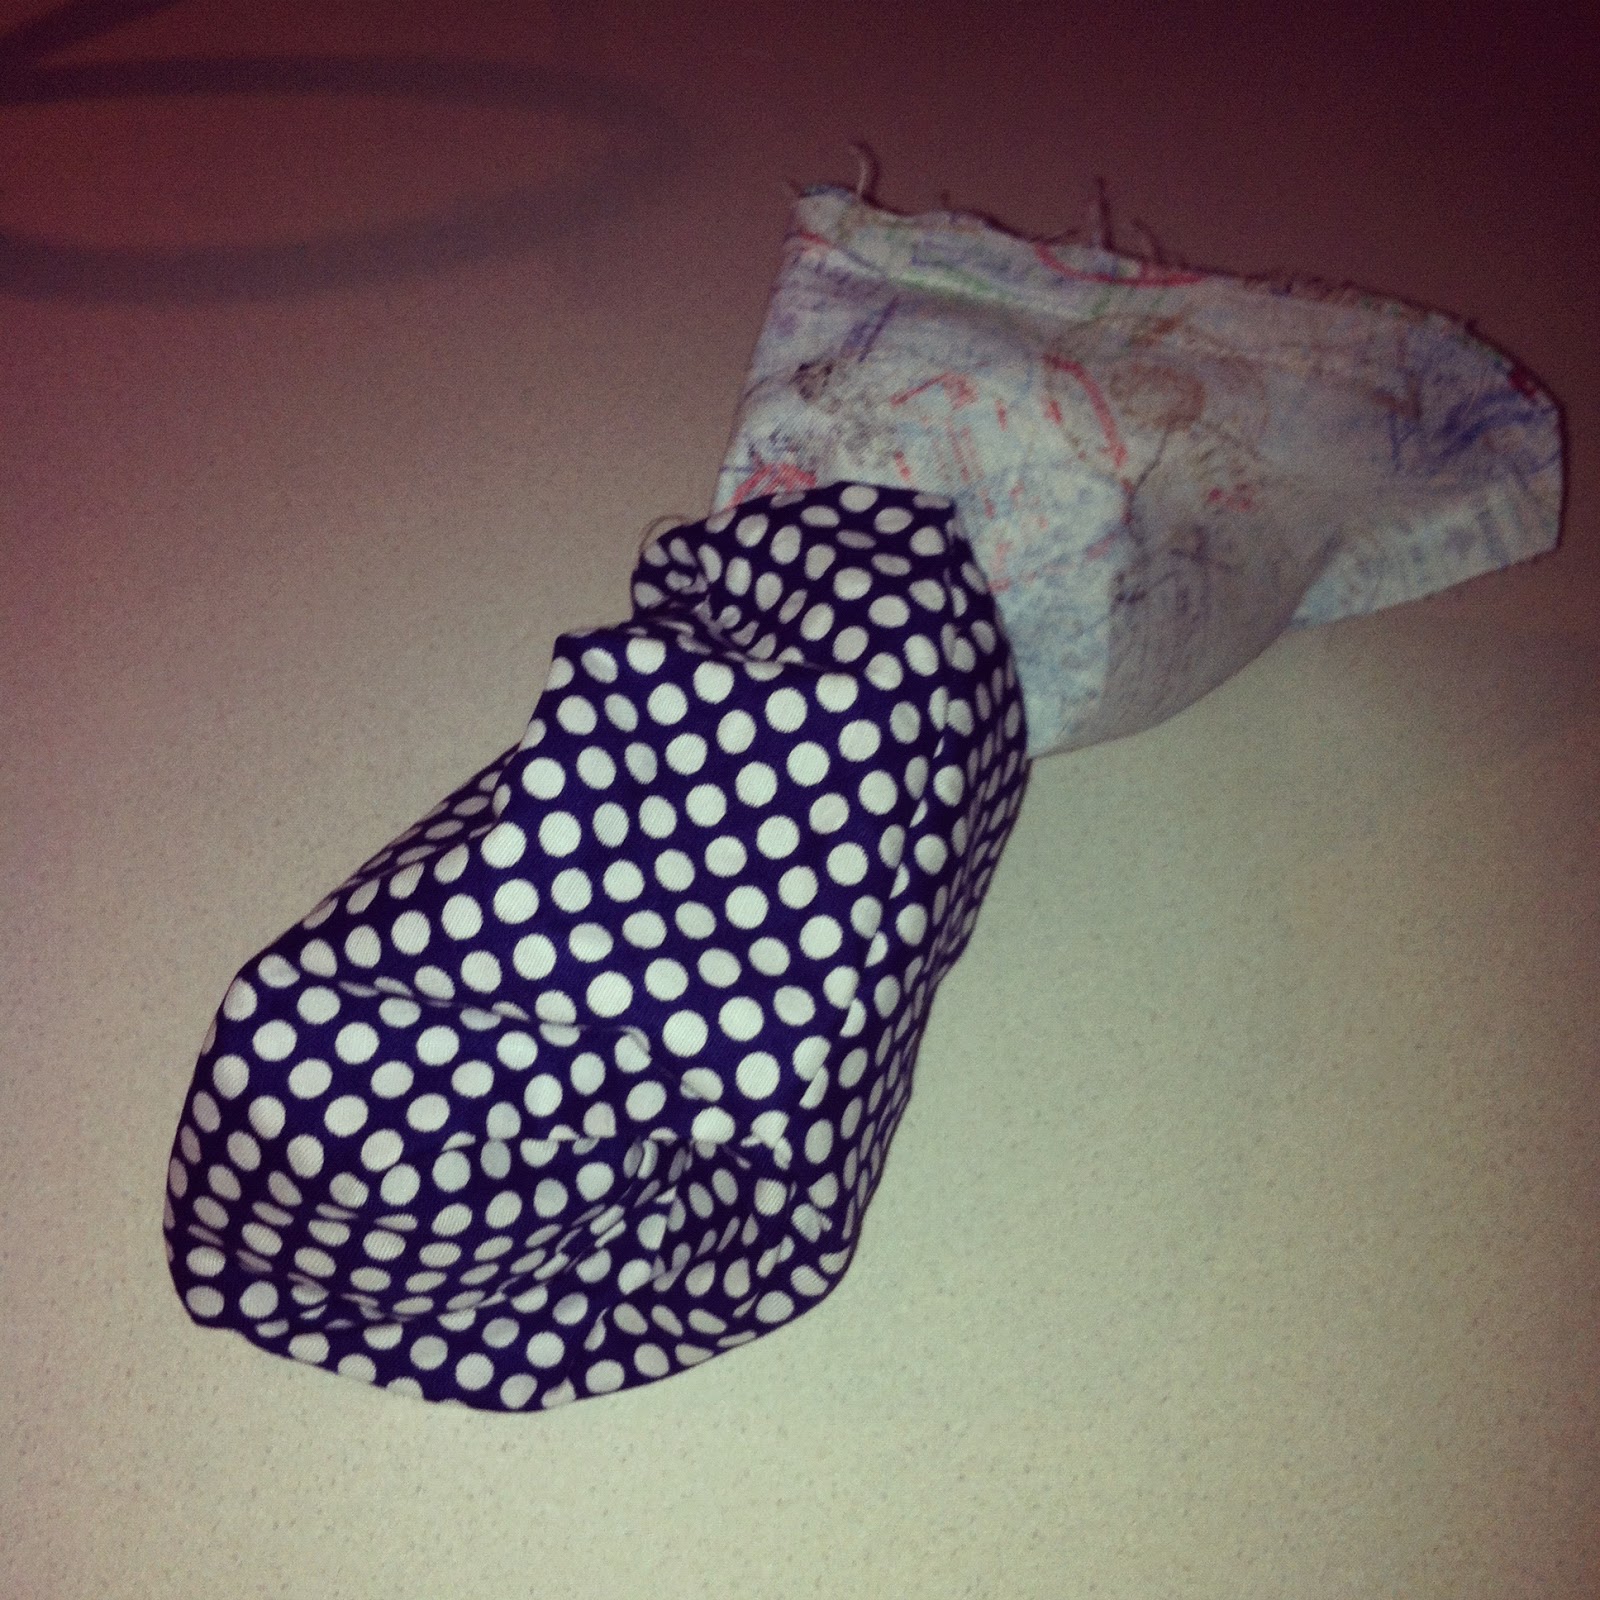
Side note - Please excuse the photos but our SLR broke at Christmas and I have not had a chance to get it repaired so you'll have to view my phone photos.
What you need for the project:
- 7" (18cm) zipper
- 4 pieces of fabric (2 outer fabrics and 2 for the lining)
- Outer Fabric - Cut 2~20cm X 13 cm
- Lining - Cut 2~20cm X 13 cm
- For wristlet - Cut 1 piece of the fabric of your choice (I used the same as my outer fabric) 4cmX27cm

Here is what to do
- Pin the zipper to one of the lining pieces. The zipper should be the right way up and the lining should be right side facing you and with the zipper laying across the top.

2. If you have a zipper foot, attach it to your machine
3. Stitch across the top from one end to the other quite close to the zipper. The aim here is to get a nice straight line so make sure you follow your marker of you're using one.
4. Repeat with the second lining piece. Make sure you attach it to the other half of the zipper.
5. Press!

6. Now it's time to sew the outer pieces to the zipper. Have the zipper facing you right side up.
7. Lay a piece of outer fabric right over the zipper. The fabric will be facing you the wrong side.
8. Using your previous sewing stitch as a guide, stitch across the zipper.
9. Repeat on the other side of the zipper with the remaining outer piece.


11. Press the lining fabric, too

12. Top stitch the zipper down. I like to just stitch the outer fabric but if you'd like to include the lining, that is okay too. (Make sure you do this with your zipper foot attached)

Now it's time to make the wristlet.
13. Take your wristlet piece and iron it into fourths.
14. Fold the two long edge towards the middle

15. Then fold in half again.
16. Press!


17. Top stitch along both sides of the strap to close it

18. Pin the strap as shown below. Set aside this will be needed when we sew around the bag and lining.


19. Open up the zipper and flip both the lining pieces out of the way.
20. Grab your folded and pinned strap and attach it to one side of your outer pieces. I attached mine about 5 cm from the top.
21. Pin the right sides of the lining pieces and the outer pieces together. The zipper is now hidden inside the bag.
22. Mark off an opening of about 5 cm on one side of your lining piece. This will allow us to turn the bag inside out when we have sewed all the way around.
23. Sew along all four sides using the side of your foot as a seam allowance measure. Make sure you leave the opening! Also be sure to reverse back and forth at the start and the end. I also reversed over the strap so I knew that it was secured firmly.

24. Clip your corners
25. Turn the bag right side out through the opening you left in the lining.

26. Make sure you poke your corners out neatly (I use a crochet hook for this)
27. Close up the hole on the side by hand stitching or by stitching very close on your machine.
28. The final thing is to press and then to enjoy using your new zippered pouch/wristlet!
or better still, gift it for a friend or family member.

The other day I made a pouch for my iPhone and I have had a few comments on it.
I'm thinking I'll do a tutorial on that very soon.
No comments:
Post a Comment